How To Tile On Wood Wall

The Versatility Of Real Wood Tiles The Tile Shop Blog Wood Wall Tiles Faux Wood Tiles Wood Tile
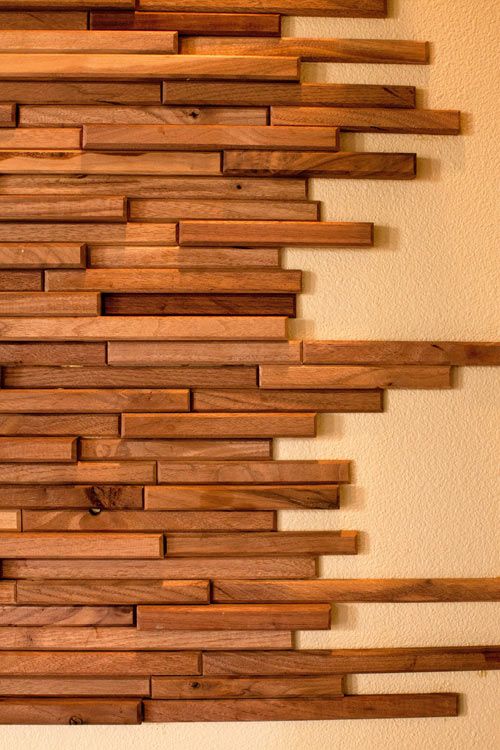
Wood Tiles By Everitt Schilling Wood Wall Tiles Wood Tile Wood Accent Wall

Mur D Entrer Decoratif En Ceramique Effet Bois De Grange Vestibules Deco Maison Amenagement Maison

Wood Look Tile On Walls Normandy Wood Tile Shower Wood Tile Bathroom Porcelain Wood Tile

Wood Look Tiles Wood Tile Shower Wood Look Tile Wood Tile Bathroom

Wood Look Tiles Wood Bathroom Wood Feature Wall Brick Fashion Tiling On The Ball Bathr Wood Look Tile Bathroom Wood Wall Bathroom Wooden Tiles Bathroom

Before doing any tile work you may want to consider where the wood paneling is.
How to tile on wood wall.

Bathroom Tub Surround Done With Wood Tile Turned Out Gorgeous Such A Unique Look Tile Tub Surround Wood Tile Shower Wood Tile Bathroom
Who Says A Wood Look Tile Is Only For The Floors Our Aequa Series Is Perfect On Walls Too Lookslikewood Wood Wall Tiles Wood Look Tile Wood Look Tile Floor

Pin By Ernest Sampson On Wall Wood Wall Tiles Wood Tile Wood Decor

Timberwall Reclaimed Cube Peel And Stick Wood Wall Tiles Wood Wall Tiles Stick On Wood Wall Decor

Modern Ceramic Tiles With Wood Look Offer Practical And Warm Interior Design Ideas Wood Look Tile Wood Panel Wall Decor Wood Interior Design

Products E S Wood Tile Garden State Tile Wood Tile Wall Planks Wood Backsplash

Add Character And Charm To Cool Toned Spaces By Mixing In Warm Elements Like This Wood Look Tile Wood Look Tile Bathroom Beautiful Tile Bathroom Wood Look Tile

Art Wall Tiles By Mosarte Modern Art Wooden Wall Tiles Wood Wall Tiles Wall Design

Highlight Your Space With An Eye Catching Focal Wall Use Wood Look Tile In A Chevron Pattern For Added Interest Wood Look Tile Floor Decor Flooring

Redecorate Your Place Install Tiled Bathrooms And Showers Darbylanefurniture Com In 2020 Farmhouse Shower Rustic Bathrooms Wood Tile Shower

Wood Look Porcelain Shower Wall Tile Shower Wall Tile Wood Look Tile Shower Wall

Wall Kithcen Tiles With Teak Wood Effect In 2020 Wood Tile Kitchen Wood Tile Wood Look Tile

5 Times Peel And Stick Tiles Totally Floored Us Stick On Tiles Stick On Wood Wall Wood Wall Tiles

Medium Rough Grain Square And Rectangular Combination Wooden Wall Tiles Wood Look Tile Wooden Wall Tiles Wood Interior Design

3 In X 8 In Prefinished Maple Wooden Subway Tile Wooden Wall Tiles Wall Tiles Wooden Walls

Bathroom Shower Wall Tile Bosco Cenere Faux Wood Wall And Floor Tile Wood Tile Shower Bathroom Wall Panels Bathroom Shower Walls

Marazzi Montagna Wood Vintage Chic 6 In X 24 In Porcelain Floor And Wall Tile 14 53 Sq Ft Case Ulrw624hd1pr The Home Depot In 2020 Tile Accent Wall Bathroom Wood Plank Tile Tile Accent Wall

Porcelain Stoneware Wall Floor Tiles With Wood Effect Dakota By Flaviker Contemporary Eco Cerami Wood Tile Bathroom Wood Look Tile Bathroom Wood Like Tile
Https Encrypted Tbn0 Gstatic Com Images Q Tbn 3aand9gcrkec1ejqctkc88gfo Asvbpfl2pn8qjezt22s3hwhqz1at Ny Usqp Cau

Powder Room With Reclaimed Wood Accent Wall And Blue And Yellow Mosaic Floor Tile In Custom Contemporary Home Wood Wall Tiles Wood Accent Wall Tile Accent Wall

Decorating Ideas For Walls Self Adhesive Tile Wood Look Wall Diy Wood Flooring On Walls Laminate Flooring On Walls Home Decor

Pebbles On Floor And Wood Look Porcelain Plank Tile On Shower Walls Shower Tile Wood Plank Tile Shower Wall

Wood Tile Bathroom Design Wood Look Tile Bathroom Wood Tile Bathroom Bathroom Wall Tile

An Office Gets A Chic Cabin Look By Dressing Walls Floors In Tile Inspired By Weathered Wooden Wine Barr Porcelain Wood Tile Wood Look Tile Wood Effect Tiles

6x5 Walk In Wood Look Tiled Shower Style Selections Natural Timber Cinnamon Porcelain Floor And Wall Tile Co Wood Tile Shower Wood Tile Bathroom Shower Tile

Wood Tiles Pinterest Predicts The Top Home Trends Of 2017 Photos Wood Tile Bathroom Wood Wall Bathroom Bathroom Interior Design

Mosaic Wood Tile Porcelanosa Accent Wall Master Bath Wood Wall Texture Wood Wood Wall Tiles

Download The Catalogue And Request Prices Of Woodee Wood Panel For Facade By Alumil Outdoor Woo Exterior Wall Tiles Wood Cladding Exterior Wooden Wall Tiles

Pin On Living Room Decor

Natural Wood Mosaic Tile Nwmt057 Round Shaped Wood Mosaic Tiles 3d Backsplash Tile Ancient Wood Mosaic Wood Wall T Wood Mosaic Tile Wood Wall Tiles Wood Mosaic

Yellow Wood Tile With China Wood Vein Marble Wall Tiles Dw China Marble Tiles Marble Wall Marble Wall Tiles Wood Floor Design

Porcelain Tile With Mixed Look Of Wood Stone And Concrete From Marmomix Wood Tile Bathroom Porcelain Tile Bathroom Wood Bathroom

Cheap Wall Mosaic Buy Quality Wood Tile Directly From China Natural Mosaic Suppliers Specifications Wood Mosaic Wood Tile Wood

Wood Oak 3d Tiles Texture With White Plastic Elements Material Wood Oak High Quality Seamless Realistic Texture For Tiles Texture Wood Wall Design 3d Tiles

Builddirect Kontiki Interlocking Deck Tiles Lengo Piastrella Exterior Wall Tiles Wall Cladding Tiles Wall Tiles Design

Berkshire Tiles Texture Flooring Wood Tile Floors

2x4 Antique Wood Brick Subway Tile Mosaic Interlocking Sheet Tile Backsplash Accent Wall Tiles How To Antique Wood Wood Mosaic Wood Mosaic Tile

Find More Mosaics Information About Natural Wood Mosaic Tile Rustic Wood Wall Tiles Nwmt018 Kitchen Backsplash Woo Wood Mosaic Tile Wood Mosaic Wood Wall Tiles

Natural Wood Mosaic Tile Rustic Wood Wall Tiles Nwmt016 Kitchen Backsplash Wood Panel 3d Wood Pattern Tiles Mosaic Wood Mosaic Tile Wood Mosaic Wood Wall Tiles

Bedroom Wall Tiles Wood Tiles Design Wooden Walls Wooden Wall Bedroom

Peel And Stick Wood Wall Tiles Reclaimed Wood Accent Wall Accent Wall Bedroom Wood Accent Wall

Pin On Mias Room

Wooden 3d Tiles Oak Can Also Be In Ash Wood 9 Elements In One Piece Fixed On A Net You Can Also Ask For Wooden Tile Wall Shelves Design Wooden Wall Shelves
Https Encrypted Tbn0 Gstatic Com Images Q Tbn 3aand9gcqi5f75gybw2pu3yimcl7p Qhakyxqsf3thepwqr Jxdgjus 8d Usqp Cau
Source : pinterest.com
