How To Tarp A Roof To Hud Specs

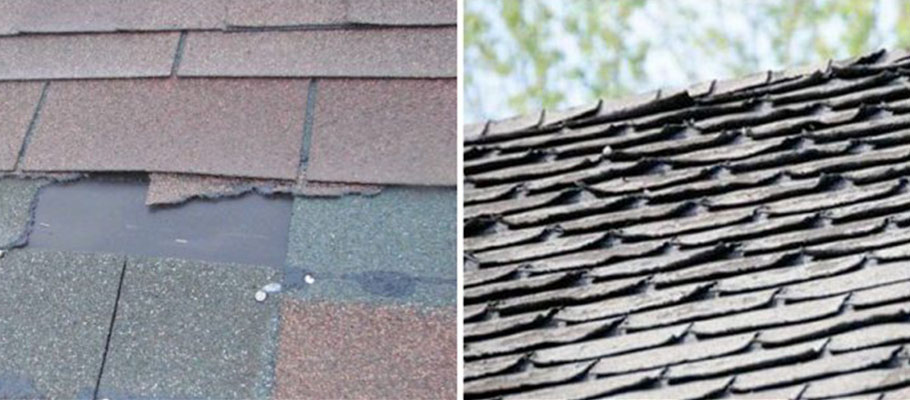
How To Cover Your Roof After Storm Damage Hunker

Roof Repair Near Me How To Stop A Roof Leak Temporarily Roofing Company Near Me Orlando Roofing Company Castle Roofing Group Llc Orlando Fl

How To Raise A Ceiling Height In Home New Blog Wallpapers Ceiling Height Low Ceiling Ceiling
Use A Tarp To Temporarily Stop Roof Leaks

Pin By Abdulla Sonkar On Pergola Roof Tiny House Design Mobile Home House Design
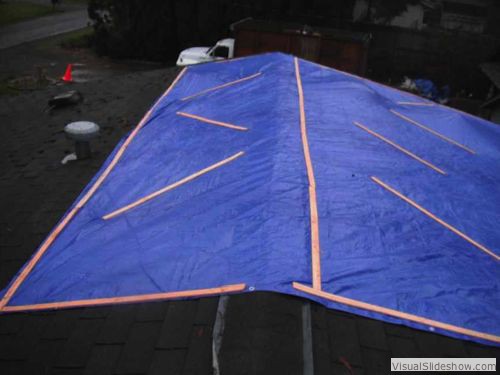
Perform A Roof Tarp When There Is An Active Leak

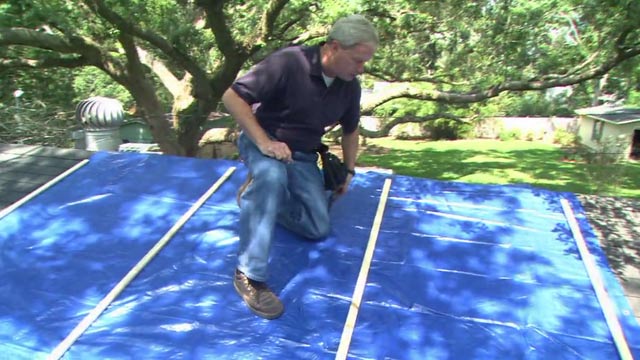
Lay more 2 by 4s on either side of the tarp and attach those as well for a tight well secured water barrier.
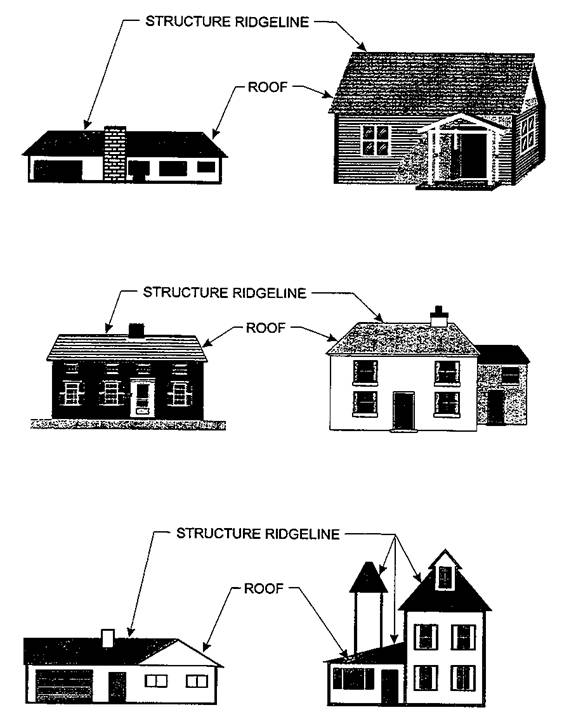
How to tarp a roof to hud specs.

Hud Plaza Washington D C Usa Martha Schwartz Partners Martha Schwartz Landscape Plaza Sustainable City

Shade Tarps Patio Tarps Roof Tarps 800 780 0201 Patio Shade Lattice Patio Patio Roof
Roof Inspection Near Me What To Expect From A Roof Inspection Schedule A Free Roof Inspection Orlando Roofing Company Castle Roofing Group Llc Orlando Fl

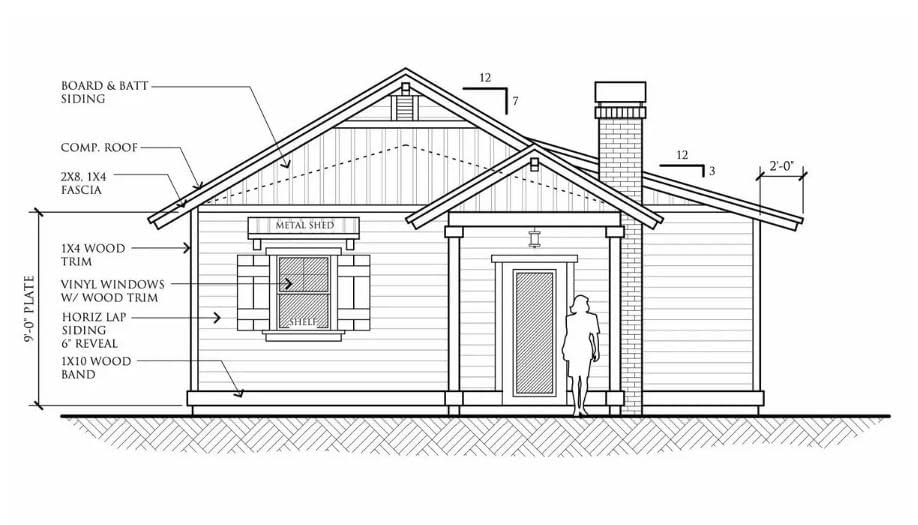
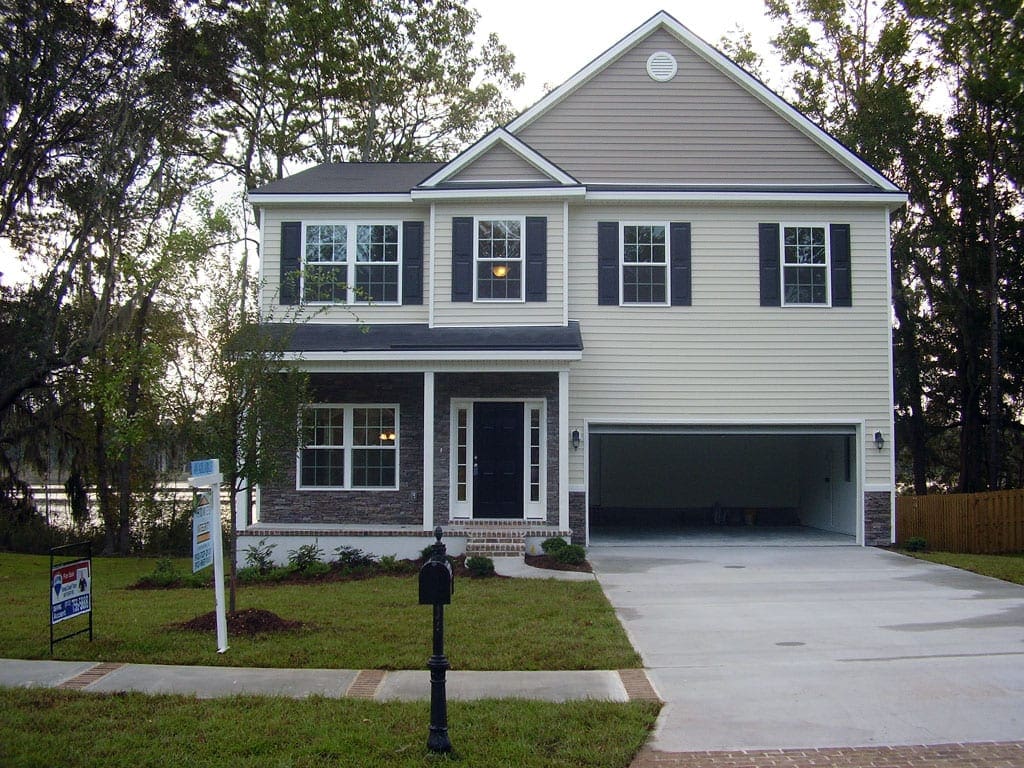
Fha Appraisals And Roof Requirements

Minneapolis From Above 1973 Minnesota Travel Minnesota Home
Home Repair Program
Rapid Shelter Innovation Showcase Housing Innovation Collaborative La
Https Www Mvn Usace Army Mil Portals 56 Appendix K 20nonstructural 20implementation 20plan Pdf
Https Ascelibrary Org Doi Pdf 10 1061 28asce 29cf 1943 5509 0001486

Salt Life Hat One Size Fits Most A Flex Color Red Tan Saltlife Baseballcap Salt Life Hats Hats Tan

Copper Basin Medical Center Roof Replacement Farmer Morgan

Painting A Canvas Tent Go On To The Lovely Tutorial Canvas Tents Pinterest Tents
Https Enterprise Msionline Com Entfls Docs Reponboarddocuments P Pmanual Pdf
Article 02 In General Code Of Ordinances Sonoma County Ca Municode Library
Http Www Flhousing Org Wp Content Uploads 2020 02 Fhc Hurricane Member Update 2 14 20 Pdf
/thinkstockphotos-476568200-5bfc34dcc9e77c005181852f.jpg)
Fannie Mae And Freddie Mac
Http Westernmasshousingfirst Org Wp Content Uploads 2018 11 Report On Homelessness In Western Mass Nov 16 2018 1 Pdf
Https Www Houstontx Gov Housing Plans Reports Annualreport Documents Pc Booklet Hcdd 2018 Annual Report 071019 Pdf
Https Encrypted Tbn0 Gstatic Com Images Q Tbn 3aand9gcqhb7ffttswzcd5bnmttwzlb2ltnhgsraaqv1abzyggrzzoka9a Usqp Cau
Portfolio Emc Engineering Services
Https Www In Gov Indot Projects I69 Files I69s6feis Apx Gg1 Redactedba Appendices A H Pdf

Puerto Rico Lurches Toward Recovery

Rouzer Residents Express Concern About Florence Recovery In Pender County News Wilmington Star News Wilmington Nc
Https Www Milwaukieoregon Gov Sites Default Files Pc06252019p Rev Pdf
Http Www Hacm Org Home Showdocument Id 1937
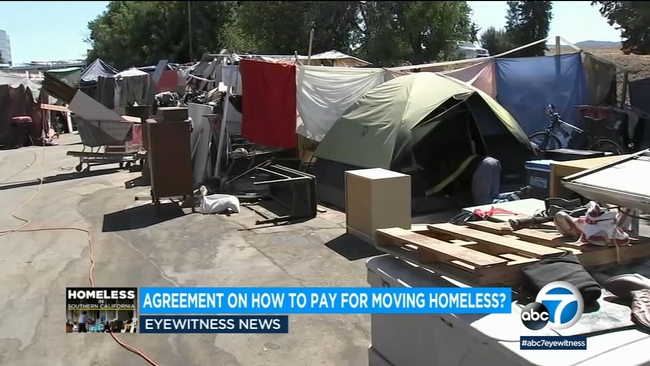
Affordable Housing Abc7 Los Angeles

Plenary
A Year After Deadly Maria U S Housing Funds On Way To Puerto Rico Reuters
The Recorder Housing Authorities Tenants Face Challenges Of Pandemic
Https Www Fema Gov Sites Default Files 2020 08 Fema Individual Assistance Program Policy Guide 1 1 Draft Comment Pdf
Http Www Cedarspringspost Com Pdf Thepost4019 Pdf
Http Www Kyhousing Org Development Single Family Documents Weatherizationprogrammanual Pdf

How To Hold Down A Canopy Tent On Concrete Canopy Tent Canopy Outdoor Tent Awning

Property Preservation Securing The Definitive Guide
Https Www Portofbrownsville Com Wp Content Uploads 2017 01 Part 4of4 Volume B Product Literature Bnd Administration Complex 10 17 16 591 808 Pdf
Https Www Co Dakota Mn Us Government Boardmeetings Budget Workshopsmtgmaterials Housing 20business 20plan 20activities 20report Pdf
Http Www Propertiesmag Com Current 2009 08 Propertiesweb Aug09 Pdf
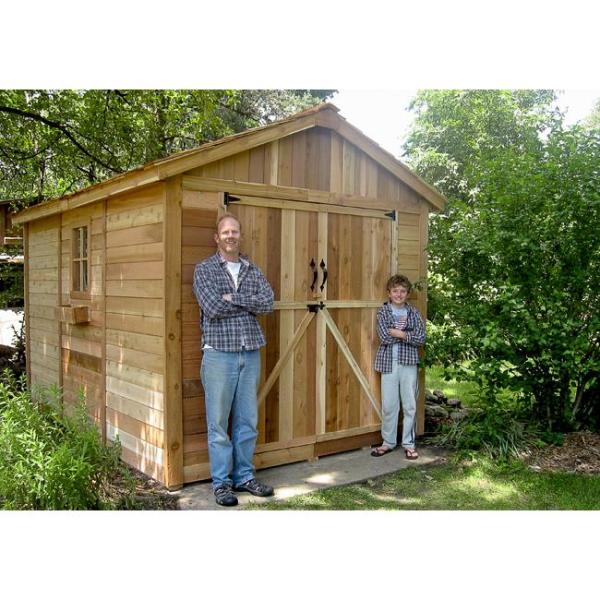
Outdoor Living Today Spacemaker 8 Ft X 12 Ft Western Red Cedar Storage Shed Sm812 The Home Depot
Welcome To United Church Manor United Church Manor Of West Seneca
Https Www Fema Gov Sites Default Files 2020 07 Mat Report Hurricane Irma Maria Puerto Rico 2 Pdf
Https Oxfordms Net Documents Departments Planning Land Development Code Pdf
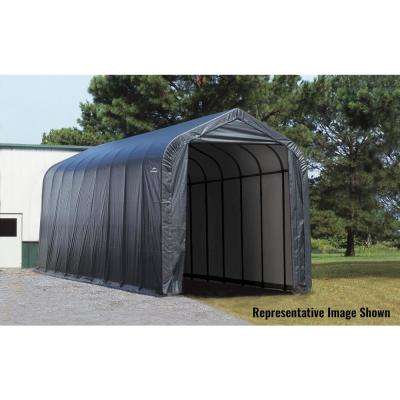
Shelterlogic Carports Garages Outdoor Storage The Home Depot

Property Preservation Work Orders All You Need To Know
Https Encrypted Tbn0 Gstatic Com Images Q Tbn 3aand9gcsgmsae0x89t1wgskgynzptm8zecebjxmxpp2llc5tqdyn7u7dr Usqp Cau
Source : pinterest.com
