How To Put Clip Of Garage Door Opener

Skylink Garage Door Opener Visor Clip Remote Transmitter Garage Door Opener Replacement Garage Door Opener Installation Repair

Liftmaster 41b5669 Belt Clip Assembly Garage Door Opener Chamberlain Craftsman By Liftmaster 9 23 Compatible Wi Liftmaster Garage Doors Garage Door Hardware

Buyer S Guide 6 Best Garage Door Openers Best Garage Doors Best Garage Door Opener Garage Doors

Genie 19863r Screw Drive Clip And Collar Screw Connectors By Genie 1 68 Compatible With All Late Model Scre Garage Doors Garage Door Opener Building A House

Low Profile Garage Door Kit Check More At Https Gomore Design Low Profile Garage Door Kit Garage Door Rails Overhead Garage Door Overhead Garage

Chamberlain Group Klik3u Bk Clicker Universal 2 Button Garage Door Opener Remote With V Chamberlain Garage Door Universal Garage Door Remote Garage Door Remote

This diy repair guide explains how to replace the drive belt on a belt driven garage door opener.
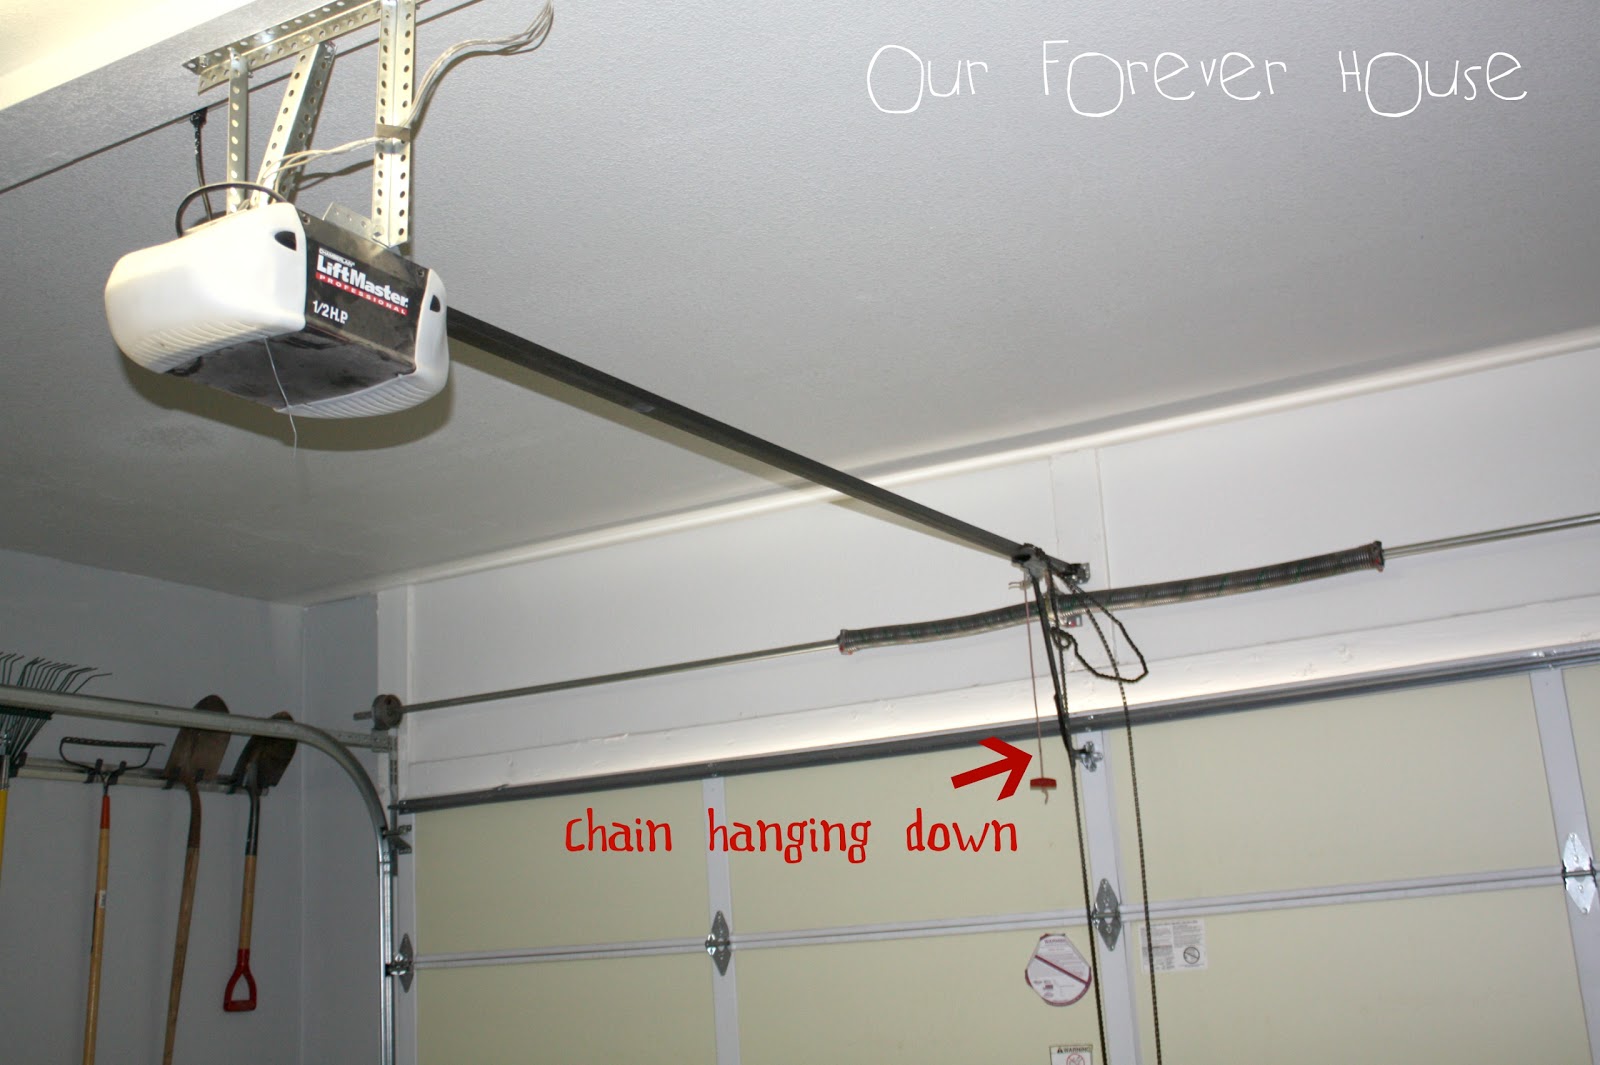
How to put clip of garage door opener.

Modest 12 Foot Garage Door Header Size For Exterior Awesome Best Choice Doors Garage Doors Garage Door Sizes Single Garage Door

One Garage Door Opener To Replace Two Must Do Garage Doors Young House Love Garage Door Opener Remote

Genie G3t Remote Garage Door Opener With Visor Clip 3 Button Garage Door Opener Remote Visor Clips Garage Door Opener

Genie Machforce 2 Hpc Premium Garage Door Opener Exclusive Screw Drive Aladdin Connect Smart Home W Alexa Google Assistant 4063 Tnmsv The Home Depot Garage Door Opener Smart Garage Door Opener

G1t Bx 1 Button Remote 2 Pack Visor Clips Garage Door Accessories Garage Door Opener Remote

Garage Door Framing Garage Door Framing Garage Doors Door Frame

Garage Door Opener Clip By Jinxtherabbit Garage Door Opener Garage Doors Floating Nightstand

Mounting Garage Door Opener Angle Iron Garage Doors Garage Door Opener Installation Garage Door Installation

Home Improvement Garage Door Remote Garage Door Opener Remote Garage Doors
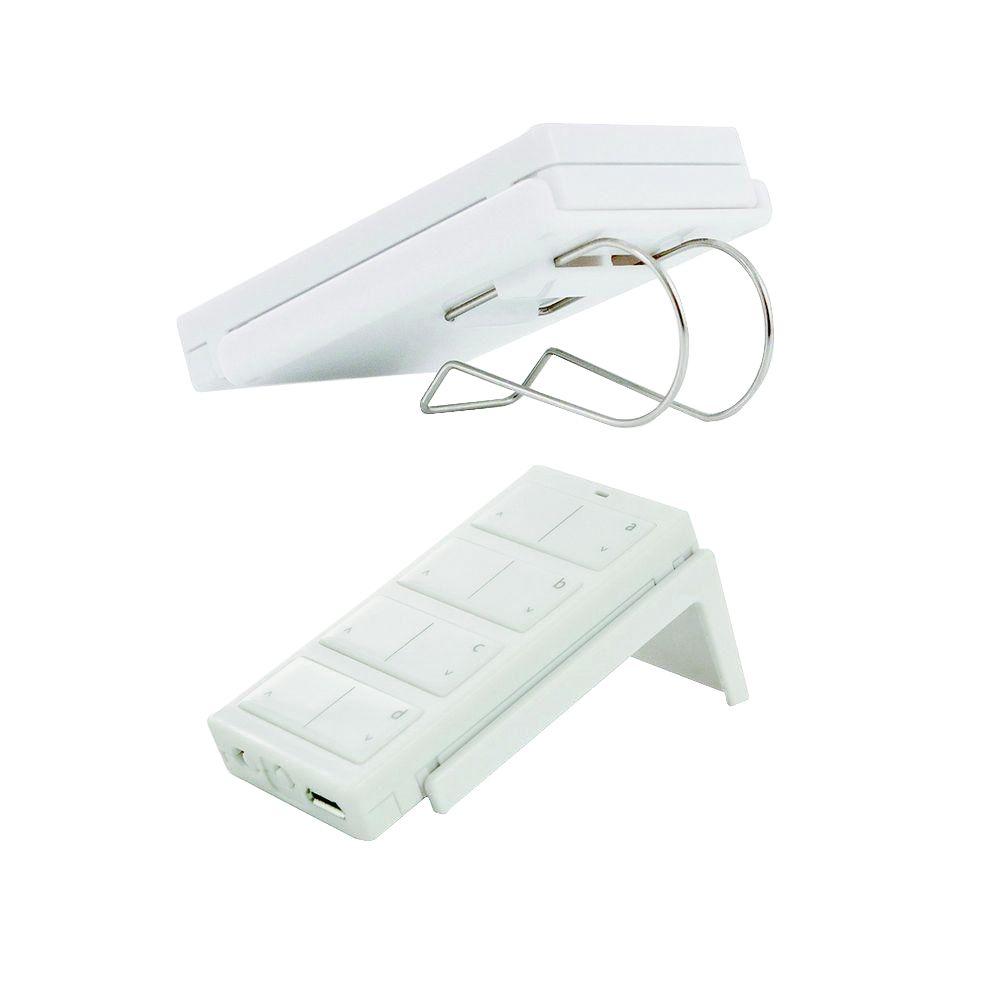
Visor Clip Garage Door Opener Remotes Garage Door Opener Accessories The Home Depot

Pin On Garage Door
Genie 19806a04 19807a04 Clip And Collar Kit Screw Drive Garage Door Opener By Genie 2 95 Compatible With Ge Garage Door Opener Garage Doors Building A House
How Do You Install A Garage Door Opener Large And Beautiful Photos Photo To Select How Do You Install A Garage Door Opener Design Your Home

Liftmaster 29b130 Belt Clip Garage Door Opener Chamberlain Craftsman By Liftmaster 3 23 Compatible With Certain Chamberlain Craftsman And Liftmaster Models

Our Functional And Organized Garage Finally Garage Designs Decorating Ideas Hg Garage Organization Tips Overhead Garage Storage Garage Organization

Garage Door Opener Miracle Instrument Garage Door Opener Garage Doors Door Opener

Carriage House Garage Doors Garage Doors Cheap Garage Doors Chi Garage Doors

Life Of A Crazy Momma 10 Cheap Ways To Improve Curb Appeal Carriage Garage Doors Garage Door Makeover Garage Doors
Https Encrypted Tbn0 Gstatic Com Images Q Tbn 3aand9gcqb7dsjpuuynvrl7wooqpkvwodx380ois64bfca1p9ojifqwvuq Usqp Cau

Genie 24222a S Wire Clip By Genie 2 43 Wire Clip Home Doors Building A House Home Security

5 Things To Know About Your Garage Door Opener Garage Door Opener Installation Garage Door Installation Garage Door Opener

Garage Door Remote New In Package Gift Garage Doors Garage Door Systems Garage Door Opener

Ryobi Garage Door Opener Quiet Garage Door Opener Garage Door Opener Garage Doors

Ryobi Ultra Quiet 2 Hp Belt Drive Garage Door Opener With Battery Backup Capability Gd201 Garage Door Opener Garage Doors Ryobi

Precision Garage Door Oc Whether You Are Purchasing A New Garage Door To Replace An Older Less Effic Garage Doors Precision Garage Doors Overhead Garage Door

Garage Door Quick Turn Top Brackets Garage Doors Garage Door Accessories Garage Door Decorative Hardware

Pin On Possible Projects

Precision Garage Door Oc Whether You Are Purchasing A New Garage Door To Replace An Older Less Efficient One Or To Add Person Garage Door Design Garage Doors

Haas V Groove Horizontal Garage Door In Polar White This Was A Two Car Retrofitted Horizontal Garage Door Garage Doors Garage Door Design Garage Door Company

Ryobi Garage Door Opener Installation Youtube

Best Representation Descriptions Overhead Garage Door Track Parts Related Searches Raynor Garage Doo Garage Doors Automatic Garage Door Overhead Garage Door

Boughtagain Awesome Goods You Bought It Again Smart Garage Door Opener Garage Door Opener Remote Garage Doors

2 Visor Clip Garage Door Remote Opener Replacement For Liftmaster Sears Chamerlain Amazon Com

Genie Garage Door Sensor Blinking Red Light For Residence Garage Door Opener Installation Garage Door Opener Remote Garage Door Opener Troubleshooting

Henderson Merlin Garage Door How To Add Tension To The Main Spring Mov Garage Door Springs Garage Door Cable Garage Door Spring Replacement

How To Repair A Garage Door Opener Garage Doors Garage Door Opener Electric Garage Door Opener
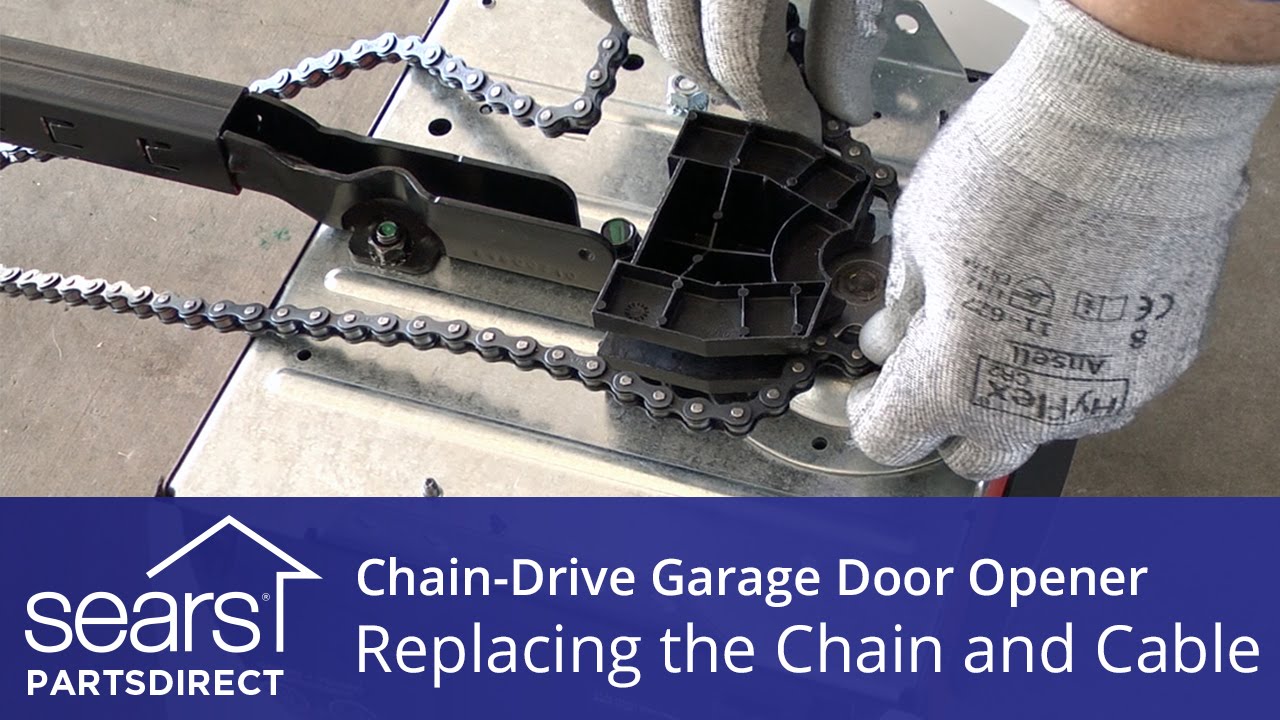
Replacing The Chain And Cable Assembly On A Chain Drive Garage Door Opener Youtube

Chamberlain 853cb Multi Function 3 Button Garage Door Opener Remote

Metal Clips Jpg 1350 750 Metal Spring Metal Clips

Chamberlain Liftmaster Craftsman 953ev P2 3 Button Garage Door Opener Remote Security 2 0 Compat With Images Garage Door Opener Remote Garage Door Opener Visor Clips

Liftmaster Garage Door Deadbolt Liftmaster Garage Door Liftmaster Garage Doors

Liftmaster 971lm 390mhz Garage Door Remote Find Out More About The Great Product At The Image Link Garage Door Opener Remote Garage Doors Garage Door Remote

Consider Installing A Garage Door Screen Garage Screen Door Diy Screen Door Diy Garage Door
Https Encrypted Tbn0 Gstatic Com Images Q Tbn 3aand9gcqtax74qacgodwffgh2eikytge7n Ogemjy1o6ifnen Obqb 00 Usqp Cau
Source : pinterest.com
